Getting started with Task Hours Desktop Client
Introduction:
In this help article, we will discuss getting started with the Task Hours Desktop client. This guide will demonstrate how to navigate through the Task Hours Desktop Client using easy steps. Your employees or team members will learn to check in their log-in time, add tasks, and close them upon completion.Prerequisites:
- Your employees should have downloaded the desktop client from https://live.taskhours.com/download-clients/.
- Open the file (setup.exe).
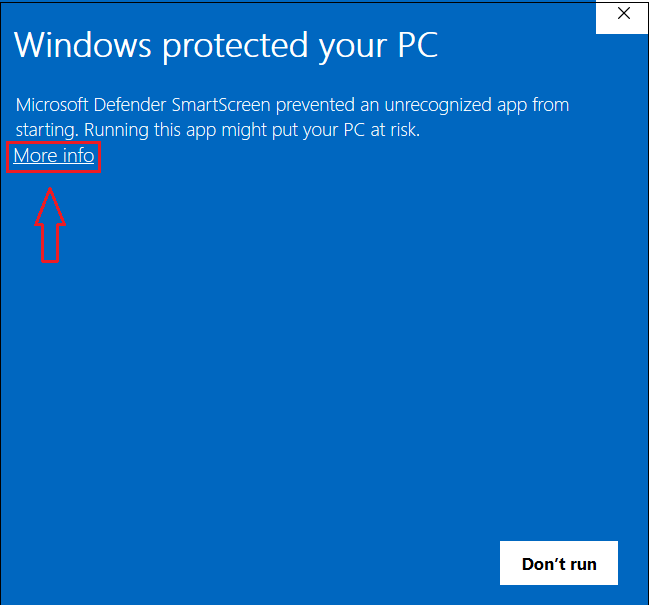
Step 1: Click on the More info.
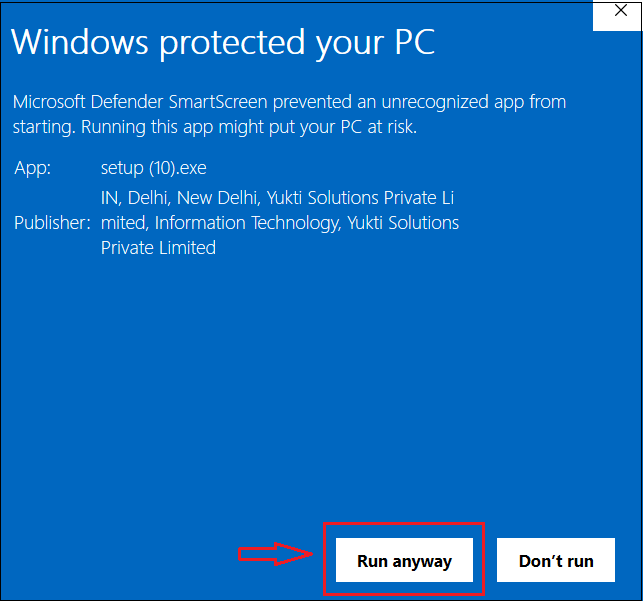
Step 2: Now, click on Run Anyway.
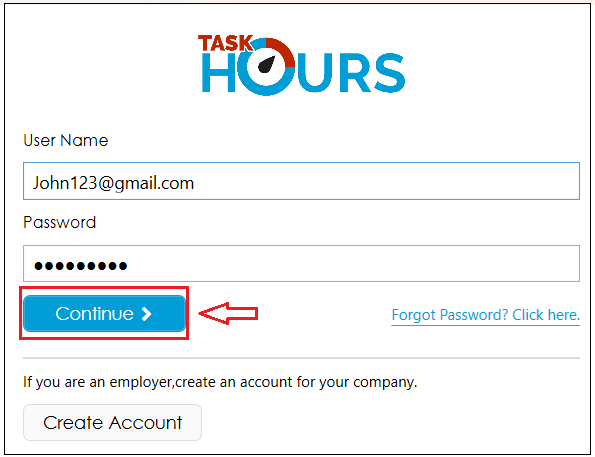
Step 3: Click on "Continue" after entering your user name and password.
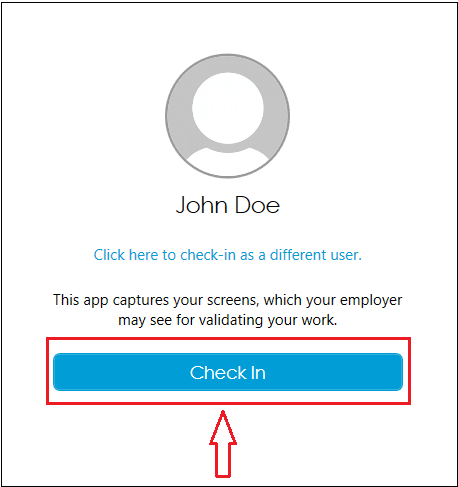
Step 4: Click on the Check In.
Step 5: Now, you have successfully logged in, and your Check-in time has been recorded. Here, Click on the planner icon.

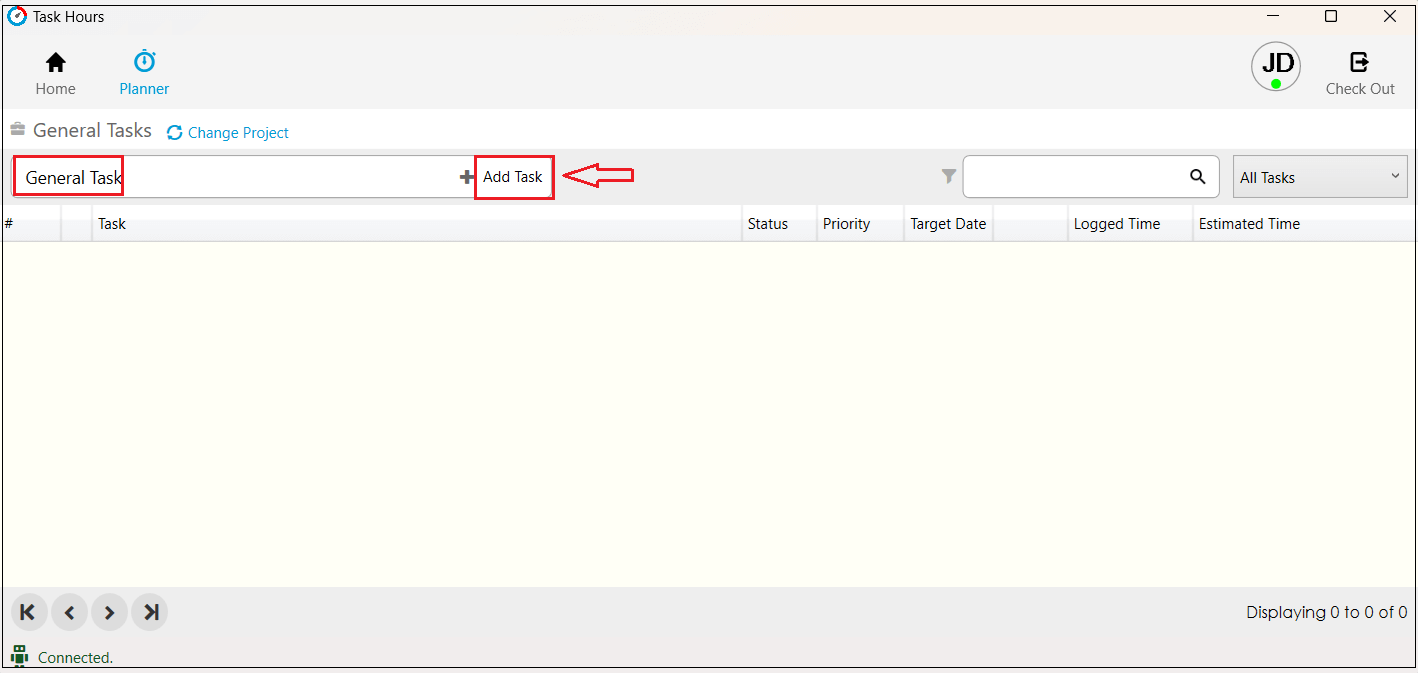
Step 6: Enter the task name and click "Add Task". However, you can add tasks in advance for the day as well.
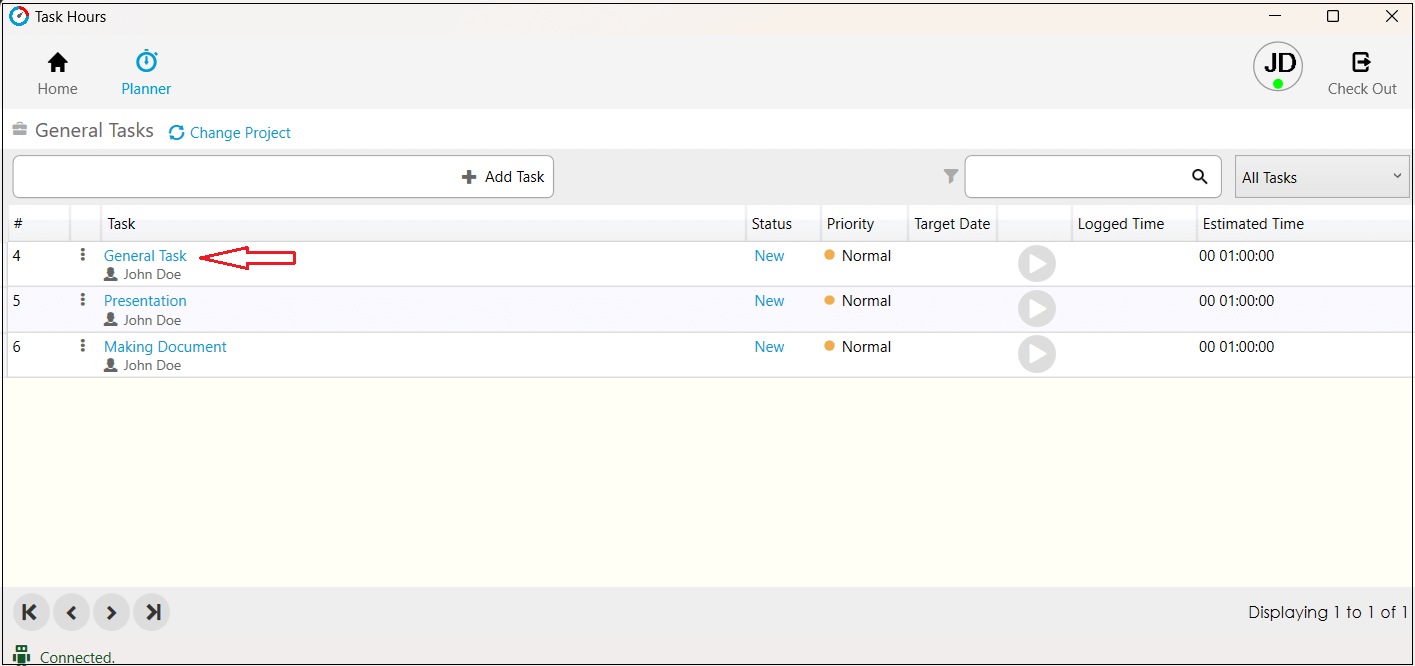
Step 7: After clicking the Add Task, the Added tasks shows in the list.
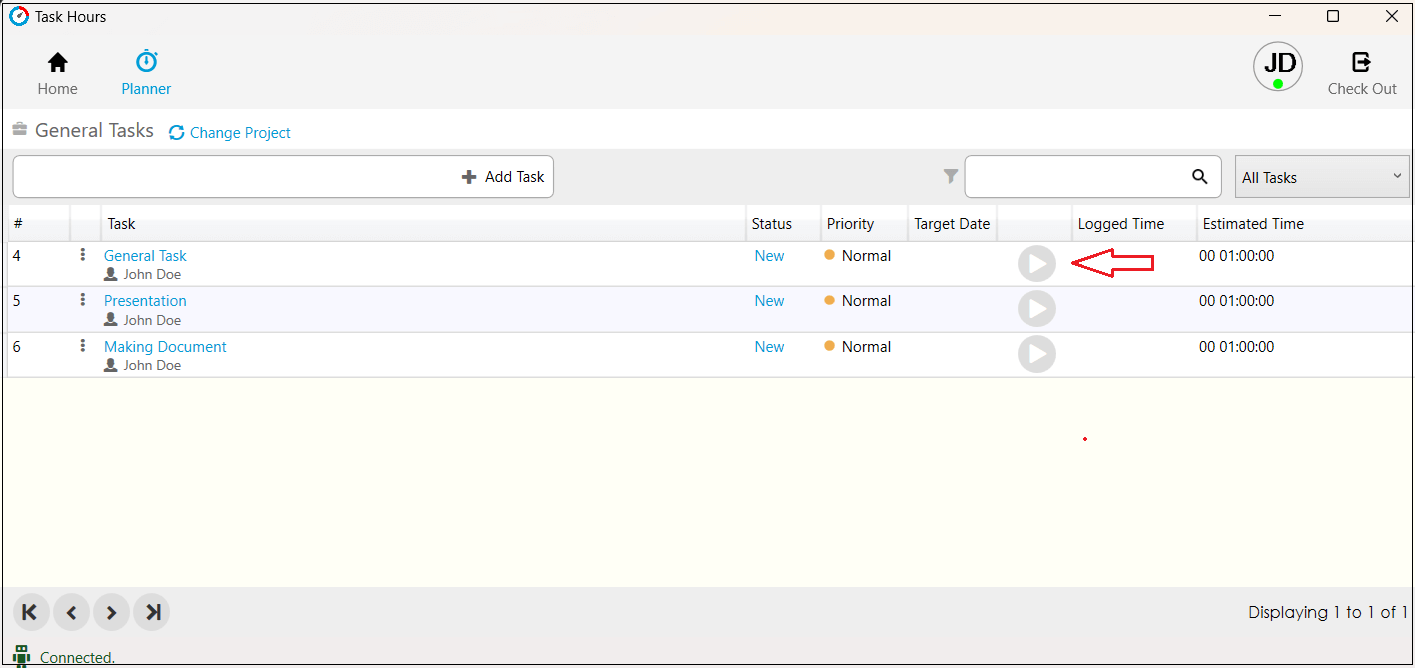
Step 8: Click on the Start button icon, as shown below.
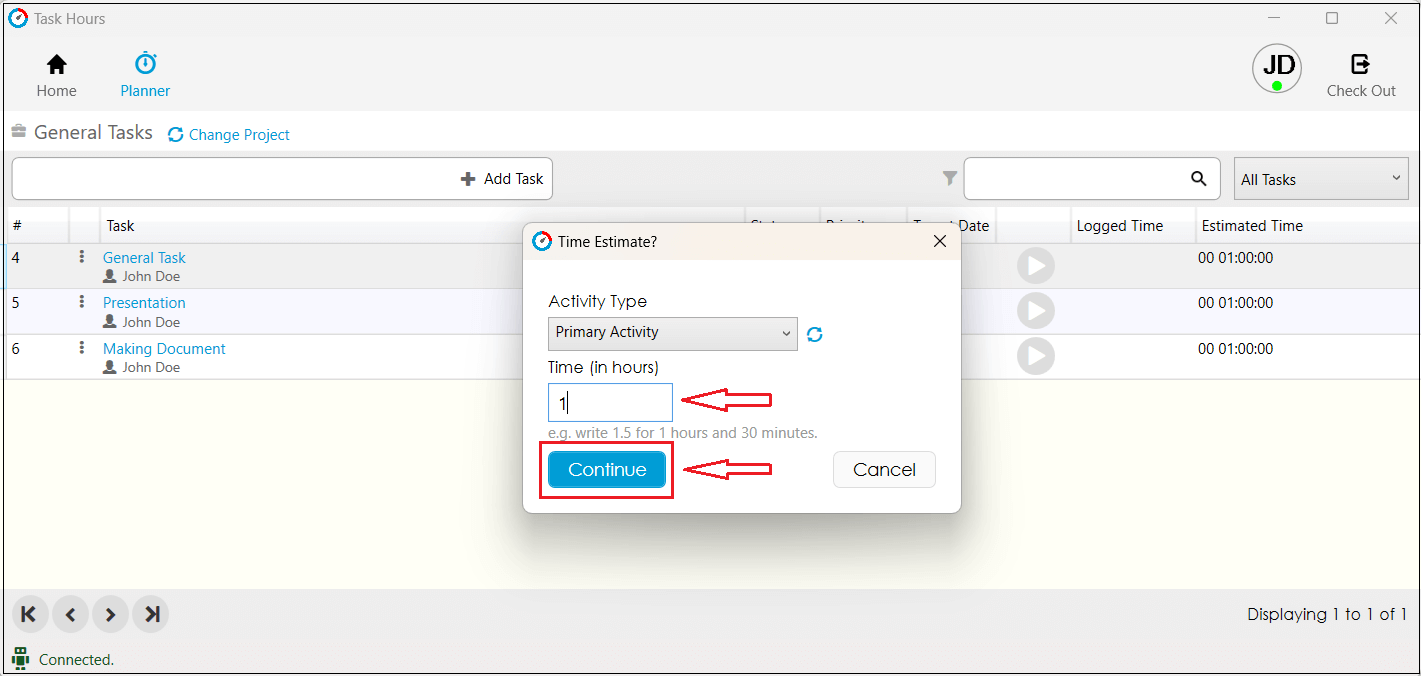
Step 9: After clicking on the start button, the "Task Estimate" window opens.
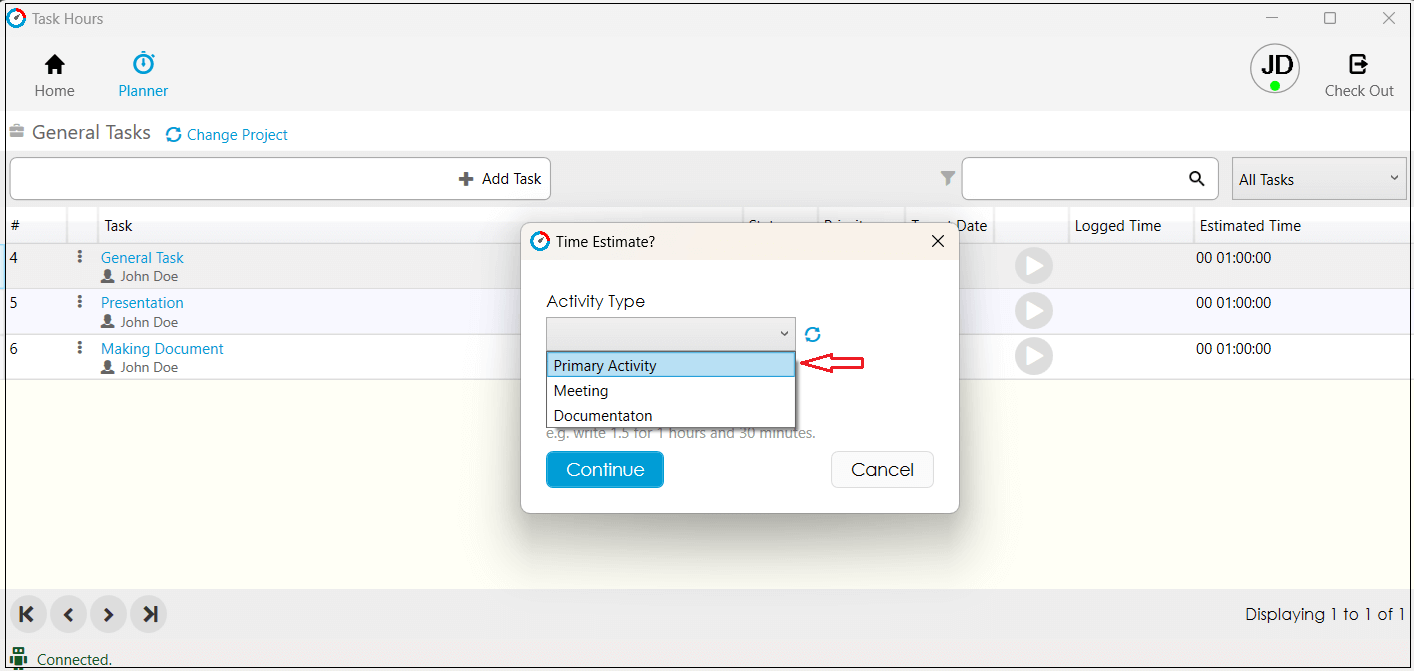
Step 10: Select the task activity type, set the time for that task, and click on "Continue".
Step 11: After clicking continue, the task timer starts.
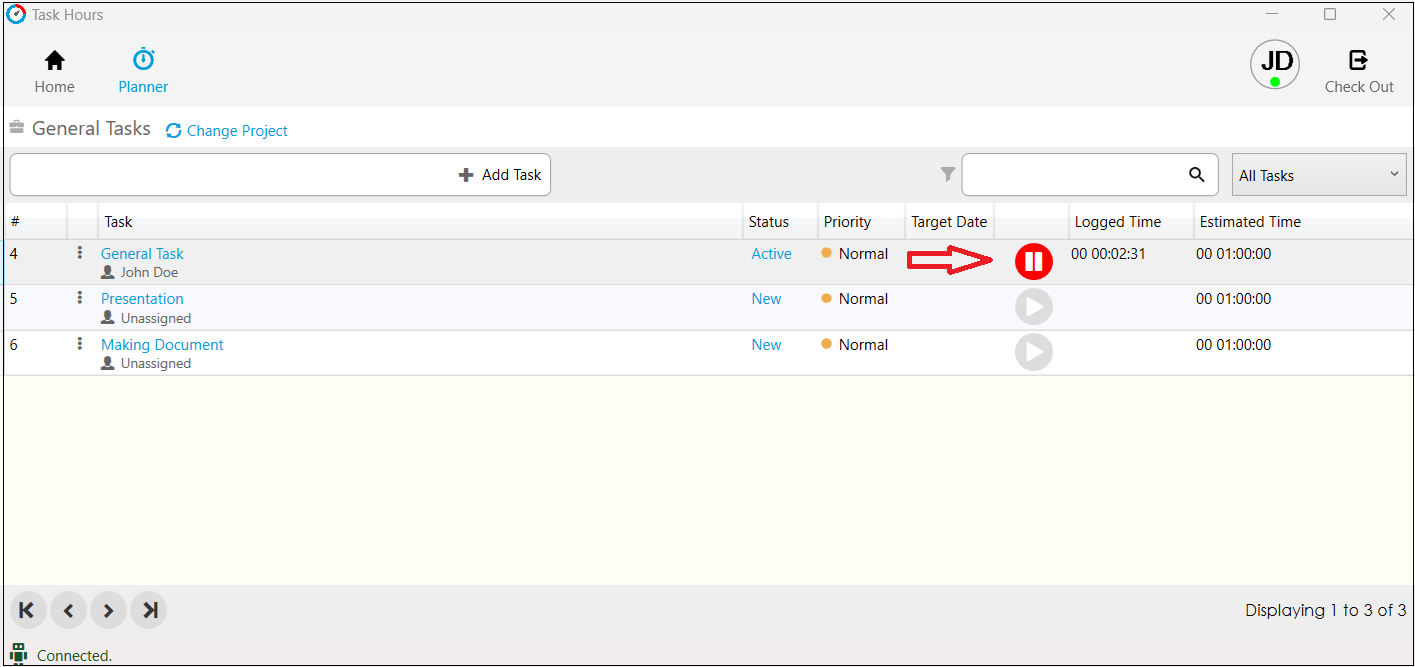
Step 12: If your current task is complete or you want to change its status, then click on it.

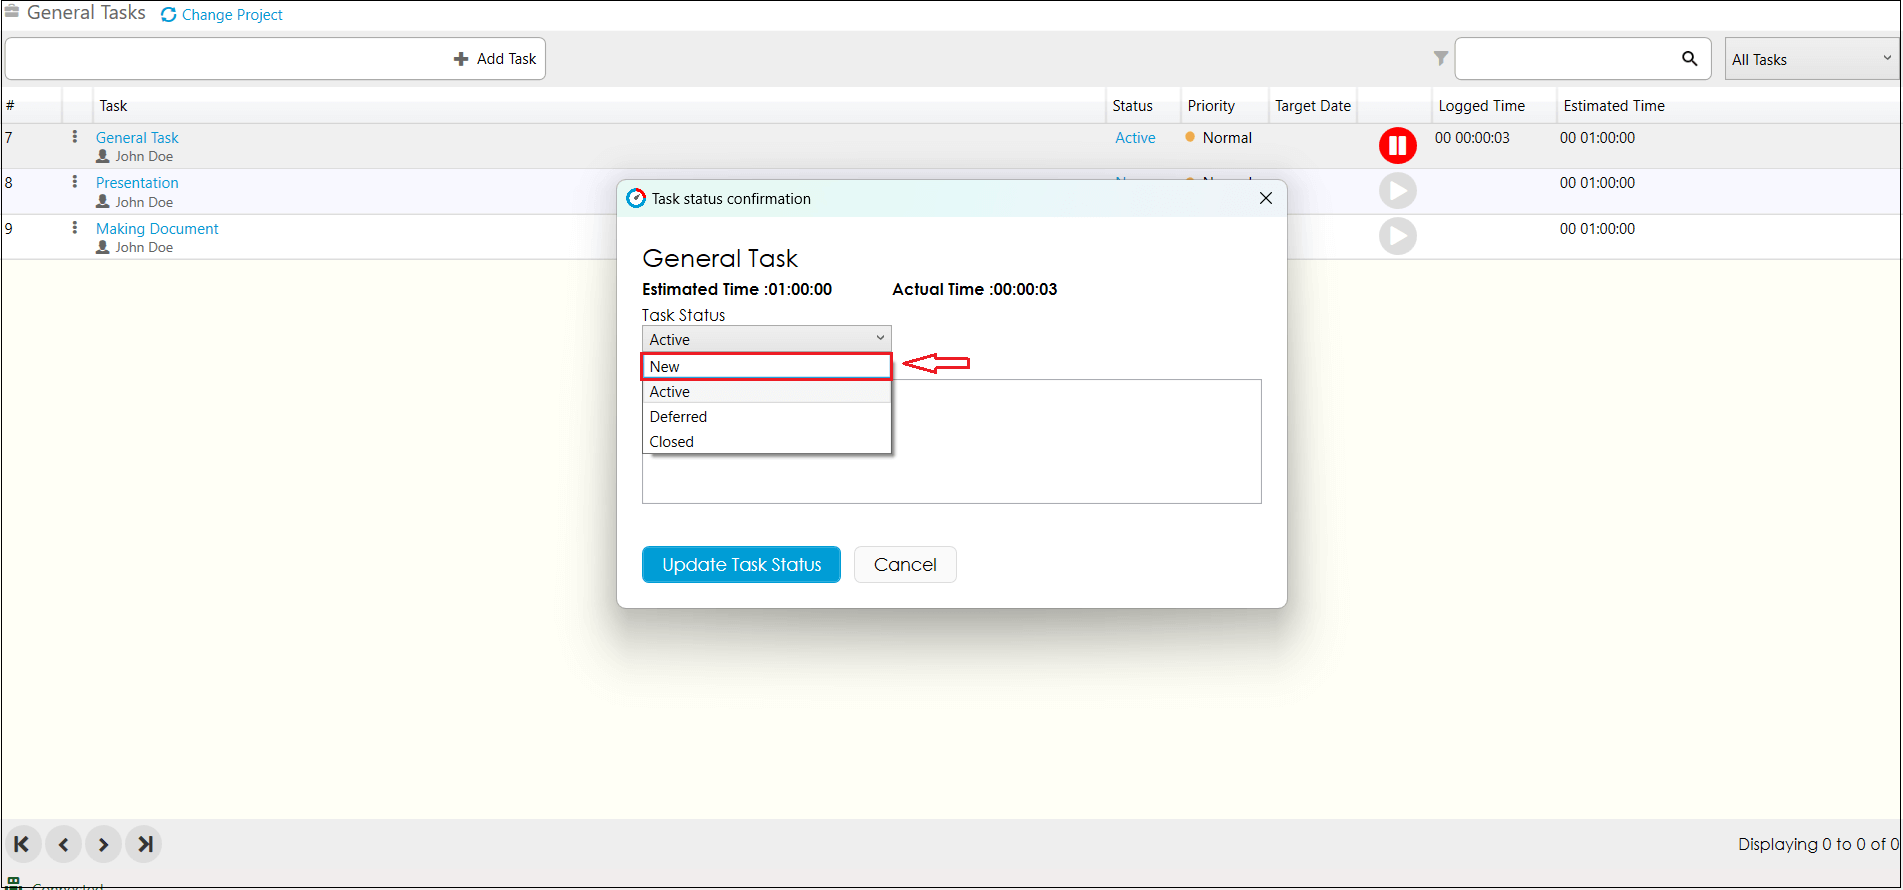
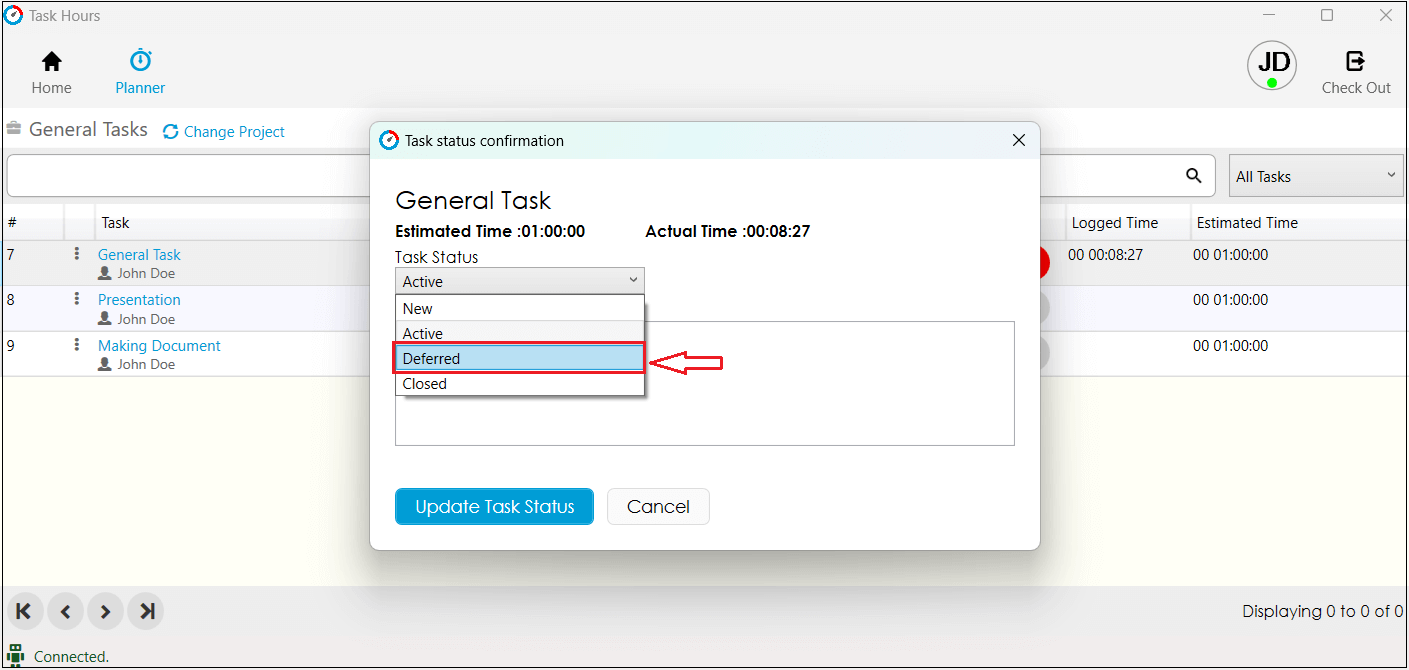
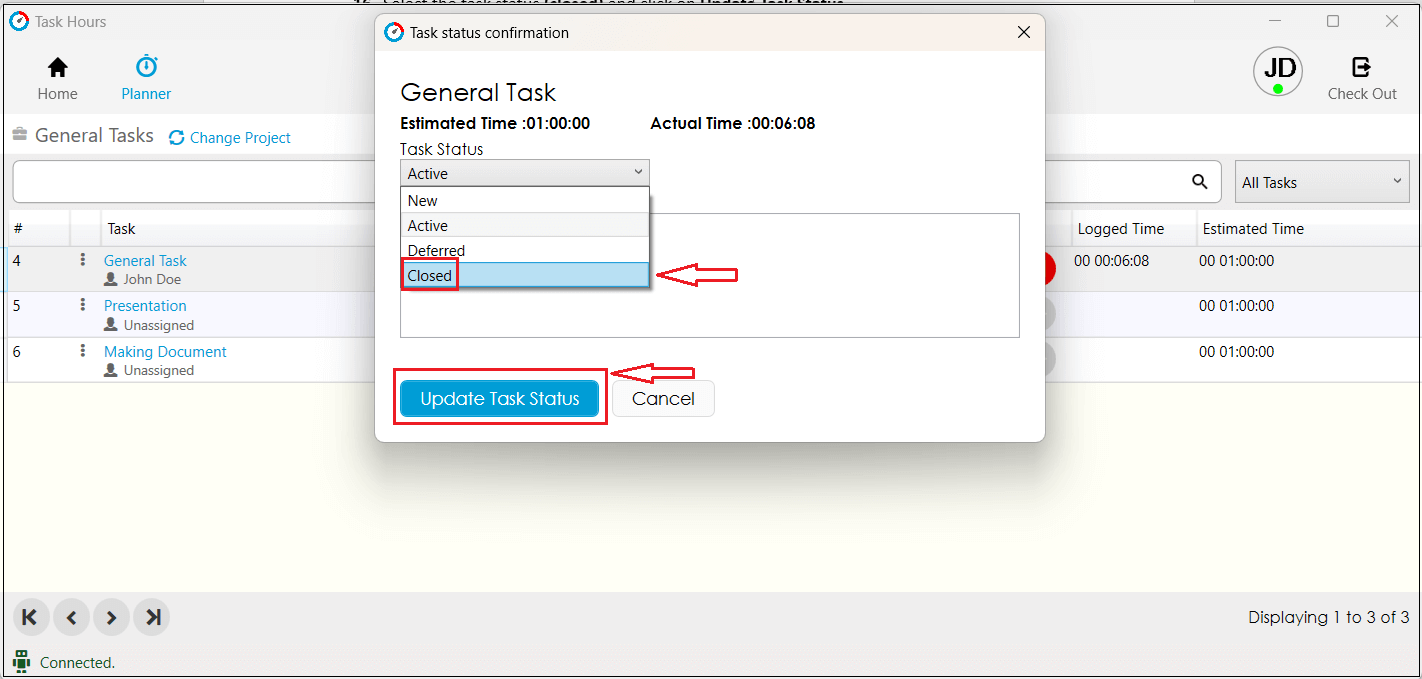
Step 13: Select the task status at the end and click on Update Task Status.
- New: When selecting the status 'New', the task will be considered as new.
We can see this task in “All Tasks” and “My Tasks” sections.
- Active- Select this status if your task is currently active but not yet completely closed.
This task can also be seen in the “All Task” and “My Task” sections.
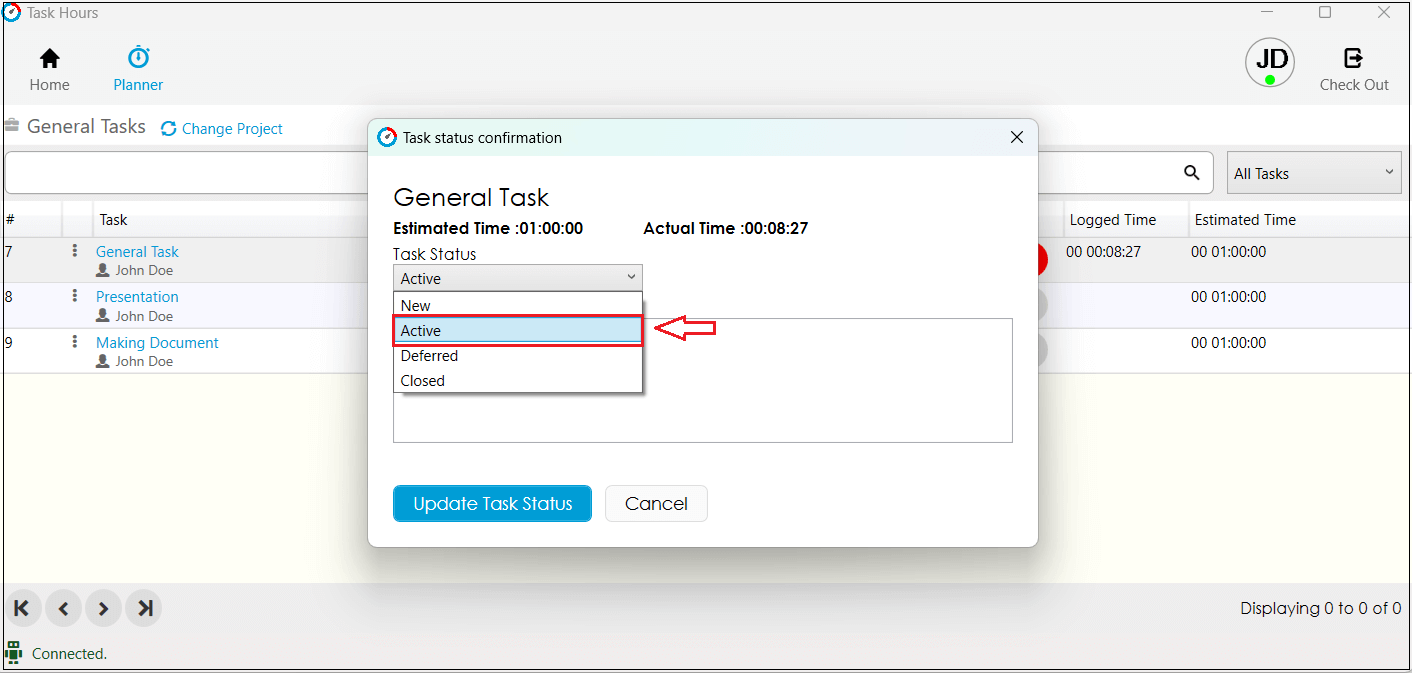
- Deferred- Selecting this status indicates that you have postponed your current task to a later time.
It can be seen in "Deferred Tasks" section.
- Closed - When selecting the status 'Closed,' the task will be marked as closed, and we can find it in the 'Closed Tasks' section.
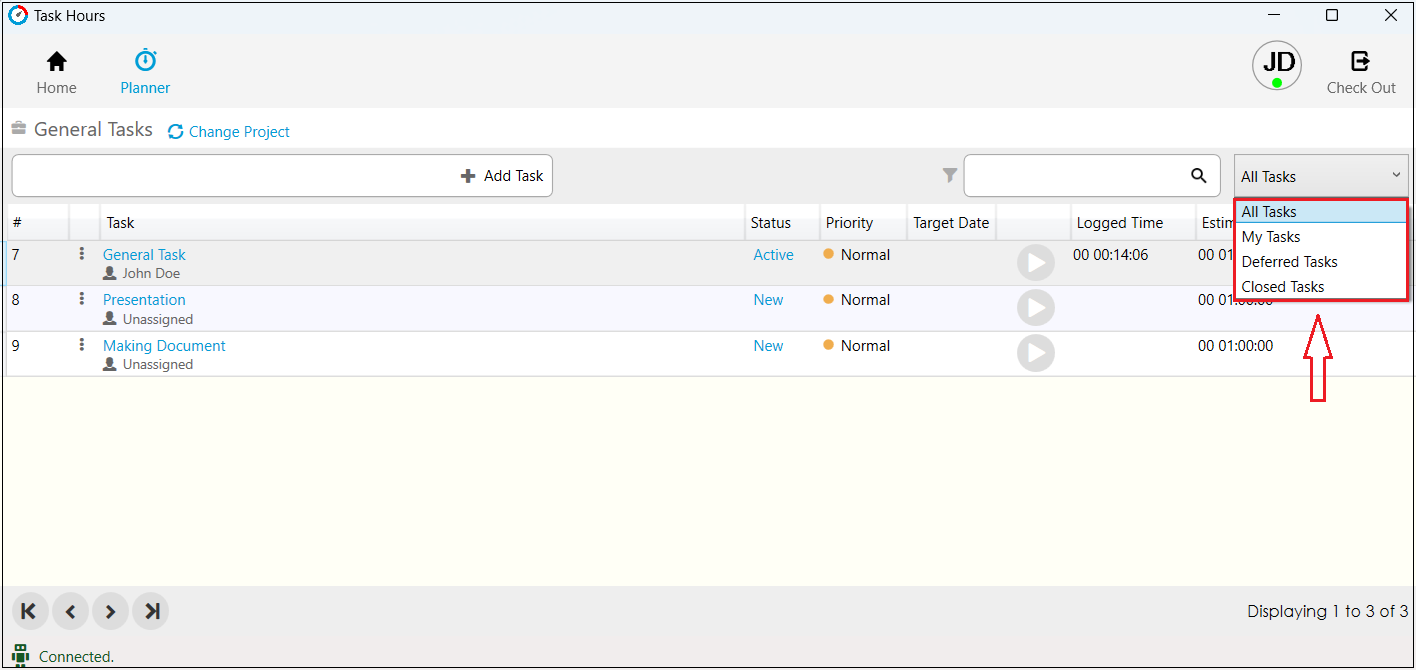
Step 14: Now, you can see the various task sections by scrolling through the below-mentioned tab.
Conclusion:
Till now, you have learned the basic steps of using the Task Hours Desktop Client for your team.
Other Useful Articles
- Getting started with Task Hours
- How to Add Team Members in Task Hours
- Introduction to Attendance Feature